
8 Steps to a Successful Home Rehab
Rehabbing a home can be an incredibly rewarding project, whether you’re flipping for profit or creating your dream space. However, it’s not without its challenges. From budgeting and design choices to managing contractors, every step requires careful planning and execution. To help ensure a smooth and successful home rehab, follow these 8 essential steps:
1. Set a Realistic Budget
Before diving into the world of home rehab, you must establish a clear and realistic budget. Take into account all potential costs, including materials, labor, permits, and unforeseen issues that may arise during the process. A common mistake is to underestimate expenses, which can lead to cost overruns and delays.
Pro Tip: Always include a contingency fund (10-20% of your total budget) for unexpected repairs or changes. It's better to overestimate and have money left over than to find yourself scrambling for cash mid-project.
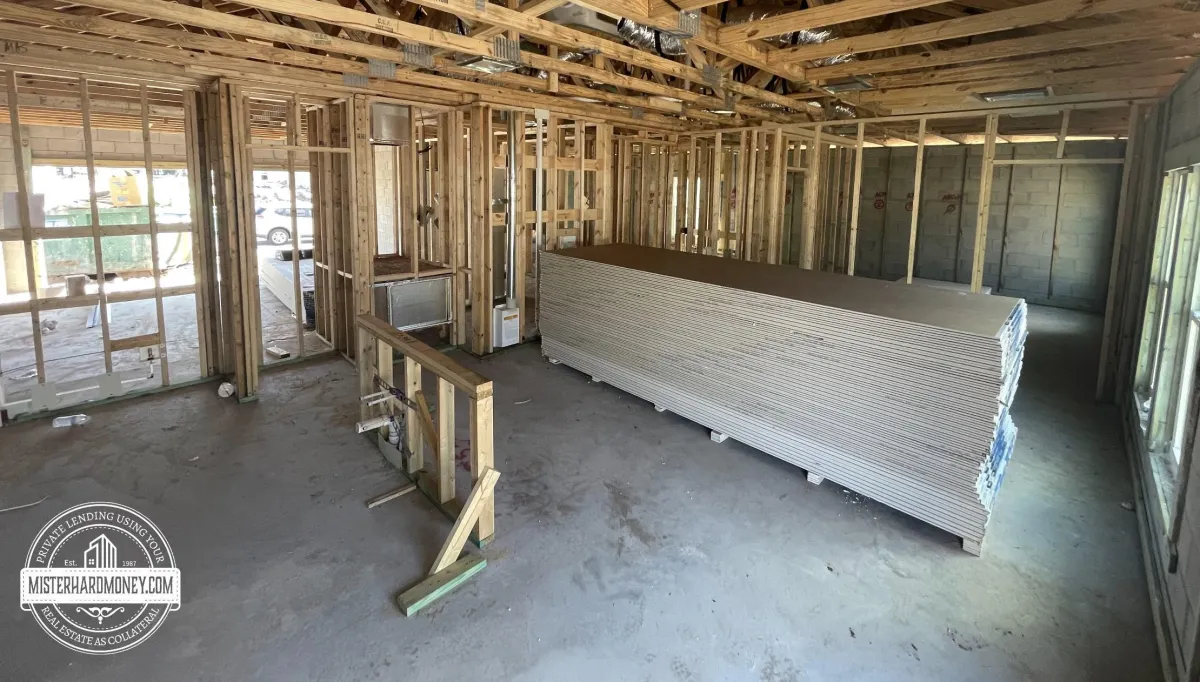
2. Assess the Property’s Condition
Next, thoroughly assess the current condition of the property. You need to evaluate both visible and hidden issues. Walk through each room and inspect the foundation, plumbing, electrical systems, roof, and HVAC systems. If possible, hire a professional inspector to identify any structural or foundational problems that may not be immediately visible.
Pro Tip: Don’t overlook small issues like mold, plumbing leaks, or poor insulation, as these can snowball into expensive repairs if not addressed early.
3. Create a Vision and a Plan
Having a clear vision of what you want your finished home to look like is crucial to ensuring the project stays on track. Start by defining your rehab goals—are you renovating for personal enjoyment, or are you hoping to sell for a profit?
Once you have a general idea of the design and layout, break the project down into phases:
Demolition
Structural repairs
Electrical and plumbing updates
Interior finishes (flooring, cabinetry, etc.)
Exterior work (roof, landscaping, etc.)
By organizing the work into distinct stages, you’ll ensure that the rehab process is manageable and progress can be tracked.
4. Get Necessary Permits
Permits are often required for structural changes, plumbing or electrical work, and major renovations. Failing to pull permits can lead to fines, costly delays, and issues when selling the home later.
Before starting any work, check with your local municipality or city planning department to find out which permits are required. Make sure all work complies with building codes to avoid issues down the road.
5. Hire Qualified Contractors
For a successful rehab, it’s essential to hire reliable, licensed contractors. While DIY can be tempting, some tasks, like electrical or plumbing work, are better left to professionals. Take your time to interview contractors, ask for references, and review past work to ensure you’re hiring the right people for the job.
Pro Tip: Don’t go with the cheapest option. A poorly done job can end up costing more in repairs than hiring an experienced contractor upfront.
6. Focus on High-Impact Areas First
If you’re working on a budget or tight timeline, focus on the high-impact areas of the home that will add the most value or improve the living experience. In most homes, this includes:
Kitchens: Renovating the kitchen is one of the best ways to increase a home’s value. New countertops, cabinetry, and appliances can make a huge difference.
Bathrooms: Updating old bathrooms with modern fixtures, new tiles, and fresh paint is another area that gives you a strong return on investment.
Curb Appeal: Don’t forget the exterior! Landscaping, a fresh coat of paint, and a new front door can make the first impression count.
By prioritizing these areas, you’ll be able to see tangible improvements quickly.
7. Stay On Schedule
A successful rehab project requires diligent time management. Set realistic timelines for each phase and stick to them as much as possible. Delays are inevitable, but try to minimize them by staying proactive.
Pro Tip: Factor in extra time for unexpected delays and shipping issues (materials often take longer than expected to arrive). Regularly check in with contractors to ensure they’re staying on track.
8. Don’t Skip the Final Touches
Once the major work is done, it’s time to focus on the details. Paint, trim, lighting fixtures, and hardware may seem like small elements, but they play a significant role in bringing the whole project together. Adding finishing touches like stylish light fixtures, new door handles, or updated cabinetry hardware can elevate the entire home and make it feel more polished.
Pro Tip: In the case of a flip, neutral but modern finishes appeal to a broader range of buyers. If you’re rehabbing for yourself, feel free to add personal style to make the space truly yours.
Successfully rehabbing a home is a multi-step process that requires careful planning, budgeting, and attention to detail. By following these 8 steps—from setting a budget and assessing the property to hiring the right contractors and focusing on high-impact areas—you’ll set yourself up for a smooth rehab project and a beautiful, functional home at the end. Patience, organization, and flexibility will be your greatest assets as you transform a fixer-upper into a success story.
Learn more about Lending Options for Fixer-Uppers in Florida and Real Estate Bridge Loans, or start your private loan application today at MisterHardMoney.com and discover how fast, flexible lending can unlock your next real estate opportunity. Follow us on Google My Business.
This information is for general reading purposes only and not intended as professional or legal advice.
